

19 Sep Drywall Taping & Finishing: What Separates a Good Job from a Bad One
Anyone can spread mud on a seam. Getting that seam to disappear once paint hits the wall is a different skill entirely, and it’s the one most DIY drywall jobs fail at. Taping and finishing is the last 20% of a drywall job that determines 80% of how the finished room looks. A poorly taped joint doesn’t just look bad under normal light — it looks worse under the raking light from a window or a can light, where every ridge, bubble, and sand scratch casts a shadow. If you’re trying to figure out how to tape drywall yourself, or just want to know what a contractor should be doing on your job, here’s what actually separates a clean, invisible finish from one you’ll be staring at for years.
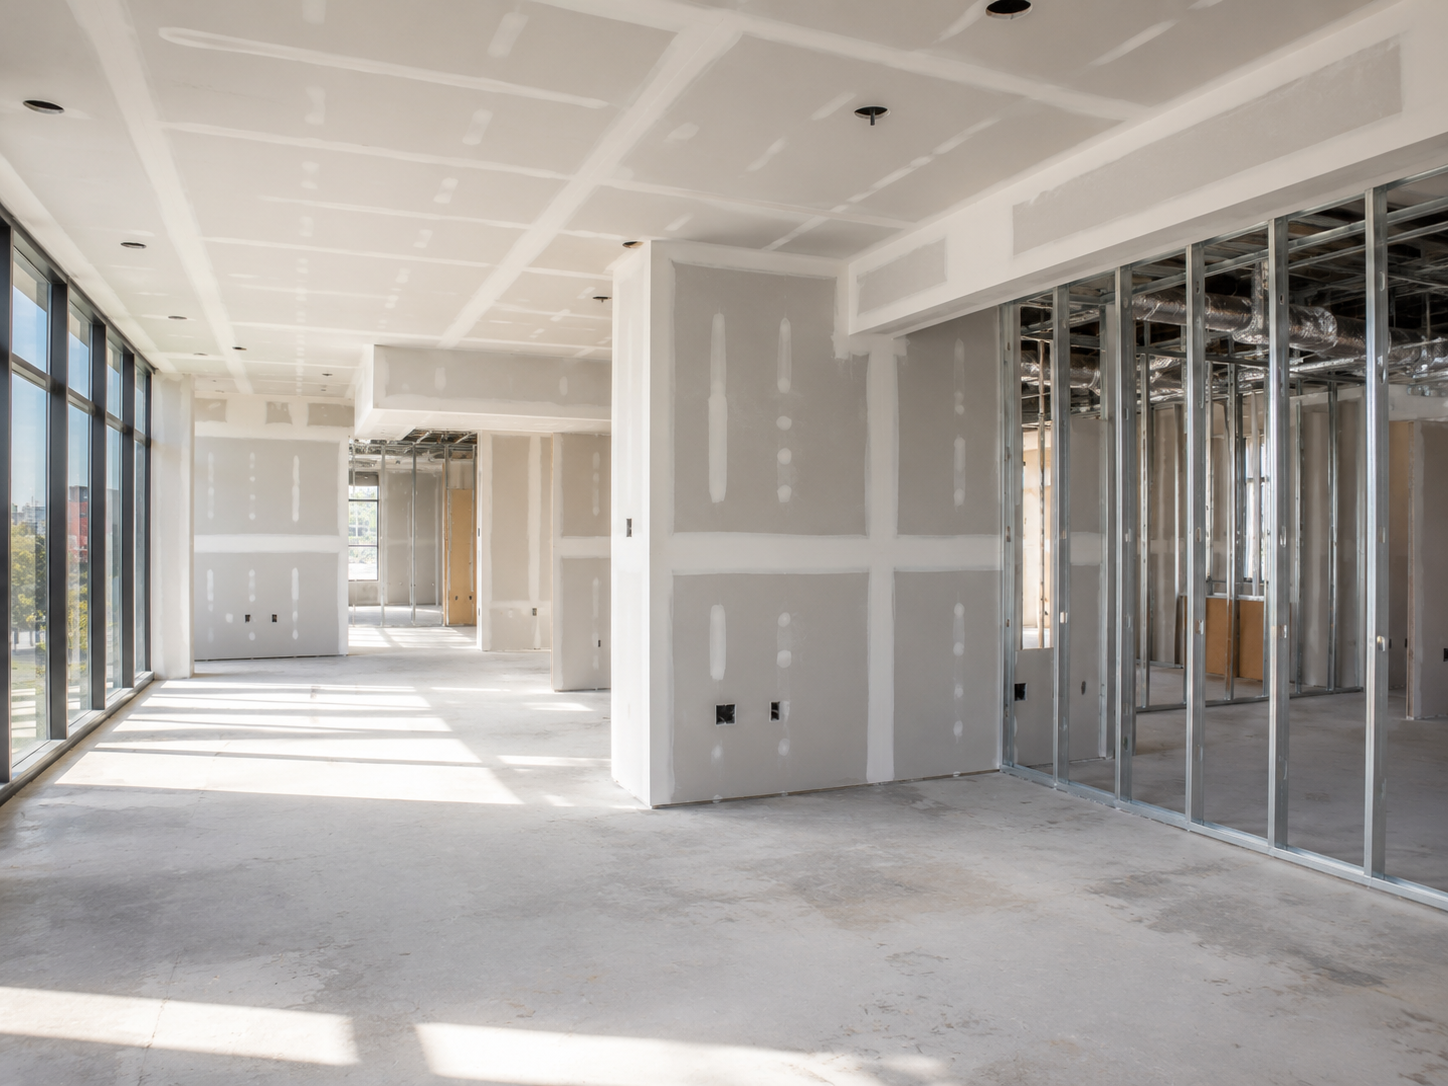
What are the basic steps to tape drywall correctly?
Taping drywall follows a specific sequence, and skipping or rushing any step is where most bad jobs go wrong. The process is straightforward on paper but demands patience in practice — most of the “trick” is letting each coat dry fully and not fighting wet mud with more wet mud.
What is the correct order of operations for taping a seam?
Start by pre-filling any gaps wider than about 1/8 inch with a quick-set compound so the tape has something solid to bed into. Then apply a thin bed coat of mud directly over the joint, embed the joint tape into it while it’s still wet, and use a taping knife to press out air bubbles and excess mud from the center outward. The tape should sit flat with just enough mud showing through that you know it’s fully bedded — too much mud left on top means a harder time feathering later, too little means the tape won’t hold.
How many coats of mud does a drywall joint actually need?
Three coats is standard for a smooth wall finish: the embedding coat, a second “fill” coat that widens and flattens the joint, and a final skim coat that feathers the edges out so there’s no visible ridge. Each coat needs to dry completely before the next goes on — for standard joint compound that’s typically 16 to 24 hours per coat depending on humidity and how thick it was applied. Quick-set compounds cut that to a couple of hours per coat, which is why most commercial crews use them to keep a job moving on a tight schedule.
What’s the difference between paper tape and mesh tape for drywall joints?
This is one of the most common questions homeowners ask once they start researching drywall finishing techniques, and the answer matters more than people expect — the wrong tape choice is a common source of cracking seams down the road.
When should paper tape be used instead of mesh?
Paper joint tape is the standard for flat seams and inside corners because it’s less prone to stretching and gives a stronger, flatter bond when embedded correctly in mud. It requires more skill to apply without wrinkling, but it produces a flatter, more durable joint over time. Mesh tape is self-adhesive and easier to apply, which makes it popular for patch work, but it should generally be used with a setting-type compound rather than standard pre-mixed mud, since mesh alone doesn’t hold as well against cracking on butt joints or larger repairs.
Why do some taped joints crack months or years later?
Cracking usually traces back to one of three causes: mesh tape used with the wrong compound, tape embedded without enough mud underneath it, or the house settling and moving the framing behind the drywall. A crack that reappears in the same spot after being patched more than once is usually a structural or framing issue, not a taping mistake — if that’s happening in your home, it’s worth reading up on why drywall cracks before assuming it’s a finishing problem.
How do you get drywall corners perfectly straight and crack-free?
Drywall in corners is where amateur jobs fall apart fastest, both literally and visually. Inside and outside corners each have their own technique, and neither forgives sloppy work the way a flat wall might.
How is tape applied to inside corners?
Inside corners use paper tape folded down the center crease and embedded into mud on both sides of the corner simultaneously. The key is not overworking one side before the other dries — pull the knife along one wall’s mud line at a time so you’re not dragging wet compound across the crease and creating a rounded, sloppy corner instead of a crisp line.
What is corner bead and when is it required?
Corner bead is the metal or vinyl strip installed on outside corners before mud goes on, and it’s not optional on any corner that will see foot traffic or impact — without it, outside corners crumble and chip within months. Metal bead is nailed or crimped on and gives a sharper, more durable edge, while vinyl bead is glued or mudded on and resists denting better in high-traffic commercial spaces. Bullnose (rounded) corner bead is common in residential builds for a softer look but requires more skill to finish evenly since there’s no sharp edge to guide the knife.
How much does sanding affect the final look of a drywall job?
Sanding is the step people most want to rush, and it’s where a lot of otherwise decent taping work gets ruined. Over-sanding is actually more common than under-sanding, and it does more damage.
What’s the right way to sand between coats and before paint?
Light sanding between coats knocks down ridges and high spots so the next coat sits flat — this shouldn’t remove much material, just smooth the surface. The final sand before priming is where flashlight-checking matters: hold a work light flat against the wall at a low angle and look for shadows, which reveal ridges or dips a straight-on look will miss. Sand those spots, skim if needed, and re-check before calling it done.
Why does over-sanding cause problems with paint?
Sanding through the paper face of the drywall or scuffing too deep into the mud roughs up the surface unevenly, and that unevenness shows up as flat, dull patches once paint goes on — paint sheen reflects differently over torn paper versus smooth mud. It’s a subtle defect that’s invisible until the room is painted and the light hits it wrong, at which point the only fix is re-mudding and repainting the whole wall, not just the joint.
Need Drywall Taping & Finishing Done Right?
Steel Bridge Construction handles drywall taping and finishing for homes and businesses across the Denver metro, from small patch repairs to full commercial buildouts.
Get a Free EstimateShould you hire a professional for drywall taping and finishing?
DIY taping can work fine for a small closet or a patch job, but whole-room or whole-house finishing is where the math starts favoring a pro crew, especially on a deadline.
What does a professional crew do differently than a DIY approach?
Professional finishers work joints in batches across an entire room rather than one seam at a time, which keeps drying times consistent and avoids the patchwork look of joints finished on different days with different mud consistencies. They also use setting compounds strategically to compress a three-day process into one, and they know from experience exactly how much mud a given joint width needs — something that takes most DIYers several rooms’ worth of mistakes to learn. For a full breakdown of what’s involved from hang to finish, our guide on drywall installation cost and process covers the whole job, not just the taping stage.
Is commercial drywall finishing different from residential?
Yes — commercial jobs are usually judged against a formal finish level standard (Level 4 or Level 5, depending on lighting and wall finish), and they often involve fire-rated assemblies where taping has to meet specific joint treatment requirements, not just look good. If you’re managing a build-out or tenant improvement, it’s worth working with a crew that handles this daily; our commercial drywall contractor team and our Lakewood commercial drywall crews both work to those finish-level standards on office, retail, and multifamily projects across the Denver metro.
| Finish Level | What It Involves | Typical Use |
|---|---|---|
| Level 1 | Tape embedded, no mud coats over it | Concealed spaces, above ceilings |
| Level 2 | Tape embedded plus one skim coat | Garages, storage rooms |
| Level 3 | Tape embedded plus two coats, light texture planned | Areas getting heavy texture or tile |
| Level 4 | Tape embedded plus three coats, sanded smooth | Most homes, offices, standard paint finishes |
| Level 5 | Level 4 plus a full skim coat over the entire surface | Gloss paint, critical lighting, high-end finishes |
Most residential rooms only need Level 4, and pushing for Level 5 everywhere adds cost without much visible benefit unless you’re dealing with glossy paint or harsh lighting that will expose every imperfection. A good contractor will tell you which level your space actually needs instead of upselling a finish you won’t notice.
Frequently Asked Questions
How long does it take for taped drywall to fully dry before painting?
Standard joint compound needs about 24 hours per coat to dry fully, so a three-coat job takes roughly three days minimum before final sanding and priming. Quick-set compounds can cut that to a few hours per coat, letting an experienced crew finish taping and sanding in a single day on smaller rooms.
Can you tape drywall corners with mesh tape instead of paper?
Mesh tape can work on corners but it’s less common there because it doesn’t hold a crisp crease as well as paper tape does, and it’s more prone to showing through as a slight bump if not embedded carefully. Most pros stick with paper tape for corners and save mesh for flat patch repairs.
What causes bubbles or blisters under drywall tape?
Bubbles happen when the tape isn’t fully pressed into the bed coat, leaving trapped air or dry spots underneath. Once the mud dries, that trapped air shows up as a raised blister that eventually cracks. The fix is cutting out the bubbled section, re-bedding fresh tape, and re-mudding rather than skimming over it.
Do I need to prime drywall before painting after taping and sanding?
Yes — drywall mud and the paper facing on the board absorb paint differently, so skipping primer leaves visible flat spots (called “flashing”) wherever mud was applied, even if the sanding was perfect. A quality PVA or drywall primer evens out absorption so the topcoat looks uniform.
How do I know if a taping job was done well before painting?
Run a flashlight at a low, raking angle across the wall in a dark room. Any ridges, dips, or tape edges will cast visible shadows. A well-finished wall shows no shadow lines at all under that test, which is the same check professional crews use before calling a job paint-ready.
Is it cheaper to tape and finish drywall myself or hire a contractor?
Materials for DIY taping are inexpensive, but the labor curve is steep — most first-time DIYers use more mud, more sanding time, and still end up with visible seams under certain lighting. For anything beyond a small patch, hiring a pro usually costs less in the long run once you factor in redo time and materials wasted on mistakes.
Commercial Drywall Service Areas
More Drywall Guides
- Drywall Finish Levels Explained (Level 0 Through Level 5)
- How Drywall Installation Actually Works: The Full Process
- Professional Drywall Installation in Denver: Cost, Process & What to Expect
- Drywall Repair and Painting: Getting a Seamless, Invisible Patch
- Drywall Patch Kits: When They Work (and When to Call a Pro)
- Water-Damaged Drywall: Warning Signs & Repair Options
- Ceiling Drywall Repair: Holes, Water Stains & Sagging
- Why Is My Drywall Cracking? Causes & When to Call a Pro
- How Much Does Drywall Repair Cost in Denver, CO?
- Drywall Repair 101: How to Fix Holes, Cracks & Water Damage
No Comments